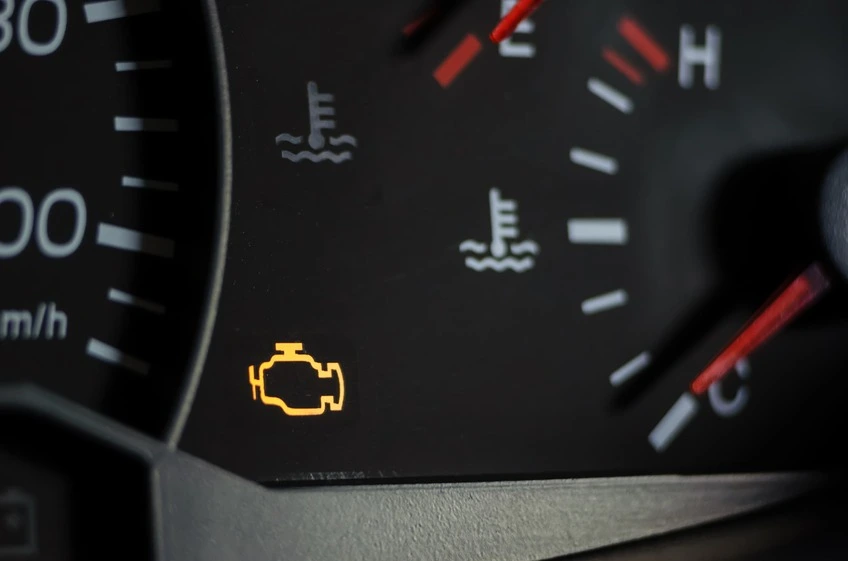
Few warning lights create more anxiety than the Check Engine Light.
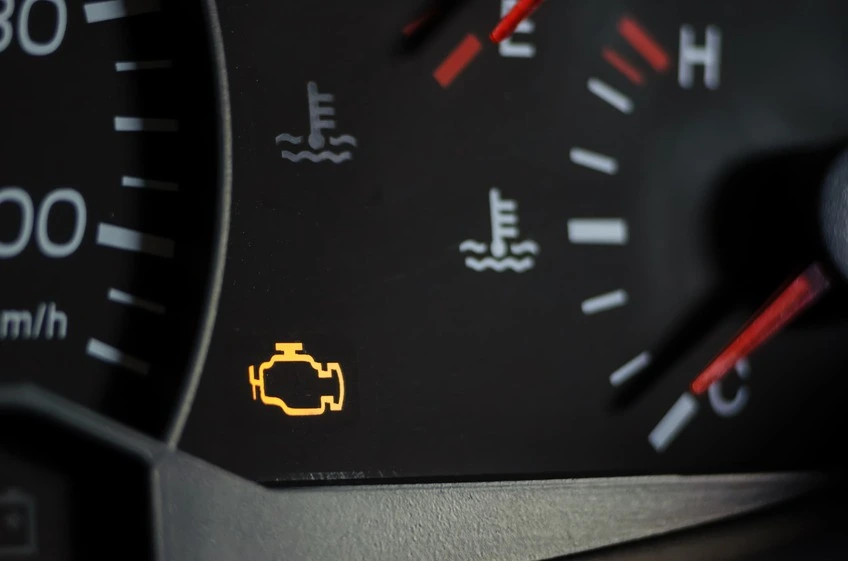
It can appear suddenly during a normal drive, stay on for weeks without any obvious symptoms, or begin flashing when something is seriously wrong.
The difficult part is that the Check Engine Light does not tell you exactly what failed.
It simply means the vehicle’s onboard diagnostic system has detected a fault that may affect the engine, emissions system, or another monitored component.
The good news is that you do not need to start replacing parts randomly.
The first step is understanding how the light is behaving.
Step 1: Is the Check Engine Light Flashing or Solid?
This is the first thing you should check.
A Flashing Check Engine Light
A flashing Check Engine Light can indicate a serious active problem, commonly an engine misfire severe enough to potentially damage the catalytic converter.
If the light is flashing and the engine is:
- Shaking
- Running rough
- Losing power
- Smelling strongly of fuel
Avoid continuing to drive unless necessary. Reducing engine load and stopping the vehicle safely can help prevent further damage.
Common causes may include:
- Failed ignition coil
- Faulty spark plug
- Fuel injector problem
- Wiring issue
- Mechanical engine problem
A flashing light should be treated more seriously than a light that simply remains on continuously.
A Solid Check Engine Light
A solid Check Engine Light is often less urgent, particularly if the car is running normally.
However, that does not mean it should be ignored.
The problem could involve anything from a relatively minor emissions-related fault to a sensor, ignition, fuel, or air-intake problem.
The next step is to find out why the vehicle’s computer turned the light on.
Step 2: Read the Diagnostic Trouble Codes
The most efficient way to start diagnosing a Check Engine Light is by reading the Diagnostic Trouble Codes, commonly called DTCs.
On most vehicles sold in the United States since 1996, an OBD-II scanner can communicate with the vehicle’s onboard diagnostic system and retrieve stored fault codes.
For example:
- P0300 — Random or multiple-cylinder misfire detected
- P0301 — Misfire detected on cylinder 1
- P0171 — System too lean, Bank 1
- P0420 — Catalyst system efficiency below threshold, Bank 1
But this is important:
A trouble code is not automatically a repair instruction.
A P0301 code does not necessarily mean you should immediately buy an ignition coil.
The problem could also involve:
- A spark plug
- A damaged coil connector
- Wiring
- A fuel injector
- A vacuum leak
- Low compression
The code tells you where to begin investigating.
A scanner can help you avoid guessing
If you do not already own an OBD-II scanner, having one can be useful for identifying the stored trouble code before visiting a repair shop or buying replacement parts.

- [Brand-New ArtiDiag500] We’ve got everything you’re looking for! Forget basic OBD2 scanners; TOPDON’s ArtiDiag500 car sc…
- [4-System Diagnostics] DIY enthusiasts, take notice! Will these 4-system diagnostics be the treasure you’ve been seeking…
- [6 Reset Functions] Hey, hang tight for a moment. With these 6 reset functions, the ArtiDiag500 has got you covered. It …
For basic diagnosis, look for a scanner capable of reading and clearing codes. More advanced models can also display live data, which can be useful when investigating sensors, fuel trims, temperatures, and other operating values.
Step 3: Write Down the Codes Before Clearing Them
One common mistake is immediately clearing the Check Engine Light.
Do not do that yet.
Before clearing anything, write down:
- The exact trouble code
- Any additional codes
- Whether the code is pending, current, or stored
- Any symptoms you noticed
Some scan tools can also display freeze-frame data.
Freeze-frame data is essentially a snapshot of certain engine conditions when the computer detected the fault.
Depending on the vehicle and scanner, this may include information such as:
- Engine RPM
- Vehicle speed
- Engine temperature
- Engine load
- Fuel system status
That information can sometimes help identify when the problem occurs.
Step 4: Check for Obvious Problems
Before performing complex tests, inspect the basics.
Look for:
- Loose electrical connectors
- Damaged wiring
- Disconnected vacuum hoses
- Cracked intake hoses
- Obvious fluid leaks
- Loose battery connections
If the Check Engine Light appeared immediately after working on the car, inspect the area where repairs were performed.
A connector that was not fully reinstalled can create a fault code and cause unnecessary confusion.
Step 5: Do Not Replace a Part Based Only on the Code
This is where many unnecessary repairs happen.
Imagine your scanner shows a code related to an oxygen sensor.
That does not always mean the oxygen sensor itself is defective.
The sensor may be reporting a real problem caused by something else.
Possible causes could include:
- An exhaust leak
- A vacuum leak
- Incorrect air-fuel mixture
- Wiring damage
- Fuel-system problems
The same principle applies to many other codes.
A trouble code should guide your diagnosis—not replace it.
Step 6: Use Live Data When Possible
More advanced OBD-II scanners can display live information from the vehicle’s sensors.
Depending on the vehicle, useful data may include:
- Engine coolant temperature
- Intake air temperature
- Engine RPM
- Oxygen sensor data
- Short-term fuel trim
- Long-term fuel trim
- Mass airflow readings
- Throttle position
Live data can help determine whether a sensor is behaving normally while the engine is running.
For example, if you have a code related to an engine temperature sensor, comparing the reported temperature to the actual engine condition may help confirm whether the reading is reasonable.
However, interpreting live data requires understanding what is normal for the specific vehicle.
A number that looks unusual is not always proof of a failed component.
Common Check Engine Light Codes
Here are some of the most common types of codes drivers encounter.
P0300–P0308: Misfire Codes
These codes generally indicate that one or more cylinders are not combusting properly.
Possible causes include:
- Spark plugs
- Ignition coils
- Fuel injectors
- Vacuum leaks
- Compression problems
If the engine is actively misfiring and the Check Engine Light is flashing, the problem should be addressed promptly.
P0171 and P0174: Lean Condition
These codes indicate that the engine management system has detected a condition where the air-fuel mixture is too lean.
Possible causes include:
- Vacuum leaks
- Dirty or faulty mass airflow sensors
- Fuel delivery problems
- Intake leaks
- Exhaust leaks affecting sensor readings
The correct repair depends on testing the entire system.
P0420: Catalyst Efficiency Below Threshold
P0420 is one of the most searched Check Engine Light codes.
It is commonly associated with catalytic converter efficiency, but the catalytic converter is not always the only possible cause.
Other issues may include:
- Exhaust leaks
- Faulty oxygen sensors
- Engine misfires
- Fuel-mixture problems
Replacing the catalytic converter without diagnosing the underlying cause can be expensive and ineffective.
Can You Keep Driving With the Check Engine Light On?
It depends on the symptoms.
You may be able to drive carefully if:
- The light is solid
- The vehicle is running normally
- There is no significant loss of power
- There are no unusual noises or smells
However, you should still diagnose the problem as soon as possible.
Stop driving and investigate if:
- The Check Engine Light is flashing
- The engine is misfiring or shaking heavily
- The vehicle is losing significant power
- You smell fuel or burning
- The engine is overheating
Continuing to drive with a serious active fault can lead to additional damage.
Should You Clear the Check Engine Light?
You can clear diagnostic codes with many OBD-II scanners.
But clearing the code does not repair the problem.
If the underlying fault is still present, the vehicle’s computer may detect it again and turn the light back on.
Clearing codes can also reset certain readiness monitors, which may matter before an emissions inspection.
A better approach is:
- Read the codes.
- Record them.
- Diagnose the underlying problem.
- Make the necessary repair.
- Clear the code if appropriate.
- Drive the vehicle and confirm that the fault does not return.
A Simple Check Engine Light Diagnostic Process
When the light comes on, follow this order:
1. Check whether it is flashing or solid.
A flashing light requires more immediate attention.
2. Pay attention to how the car is running.
Listen for misfires, rough idle, power loss, or unusual noises.
3. Scan for trouble codes.
Do this before disconnecting the battery or clearing anything.
4. Record the codes and freeze-frame data.
This information may help identify the cause.
5. Inspect the obvious things.
Check connectors, hoses, wiring, and recent repair areas.
6. Diagnose the system indicated by the code.
Use additional testing rather than immediately replacing the named component.
The Bottom Line
A Check Engine Light does not automatically mean your engine is about to fail.
Sometimes the cause is relatively minor.
Other times, particularly when the light is flashing or the engine is running poorly, immediate attention may be necessary.
The most important thing is to avoid guessing.
An OBD-II scanner can give you the starting point, while additional inspection and testing can help determine the actual cause.
👉 [Check an OBD-II scanner for your vehicle on Amazon →](INSERT YOUR AMAZON AFFILIATE LINK HERE)
Read the code. Understand what it means. Test the system. Then repair the actual problem.